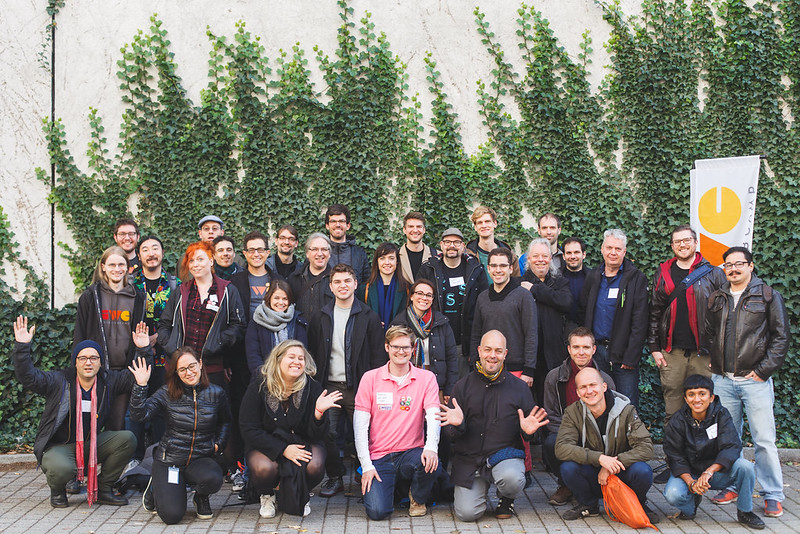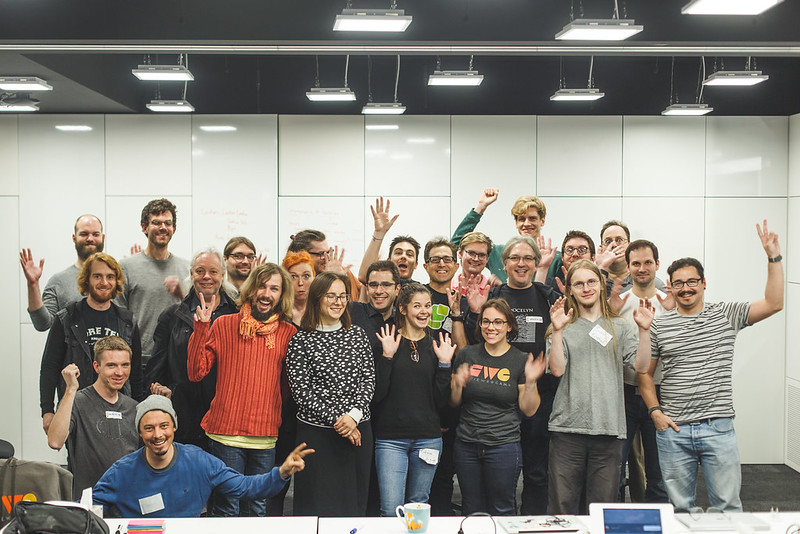
Last weekend I attended my very first IndieWebCamp in Berlin. I planned it very last minute and was lucky that flights were still at an acceptable price. I’ve been wanting to attend one for a while. I found out about the IndieWeb because somehow I stumbled upon a list of blogs that were created in a previous IndieWebCamp and that’s how I discovered one of my favourite blogs: JulieAnnenoying (Julie Anne was the photographer for the event. The photos are available here and here).
It was so much fun! I loved meeting people that I had only “met” via twitter before, the discussions and the opportunity to work on my blog and being able to ask for help.
Speaking of my blog, on the second day of IndieWebCamp (the code day), I made my instagram posts automatically post into my blog while saving a copy in my GitHub. That would trigger a build and deploy to Netlify (where my blog is currently hosted).
It isn’t perfect yet - in fact I would like to change the way they render but it is working.
Since I actually took some time to figure out how to make it work and because I “should practise what I preach” here is the blog post of how I did it, what went wrong and what should be better.
What did I do?
Now, whenever I post a photo to instagram it is automatically picked up, publishes to my GitHub repo which then triggers a build in my netlify account.
How?
Using OwnYourGram and a package called “webpage micro pub to gitHub”.
But, how again?
Right, in order to have this working I had to have IndieAuth on my blog so that I could even use OwnYourGram.
I’m a bit embarrassed to admit this but it took me too long to figure out that the process was WAY more simple than I thought. When I opened some pages about the IndieAuth I spent too much time trying to figure if I needed an access token and how to generate one. This was mistake number one. Instead of just copy pasting code and poke it, I spent too much going around all wiki pages and just feeling lost. For this particular case it wasn’t needed at all.
As it turns out all I had to do was to add the following:
  < link rel="authorization_endpoint" href="https://indieauth.com/auth">
  < link rel="token_endpoint" href="https://tokens.indieauth.com/token">
I would then have to enter OwnYourGram and follow the steps to test it. When you’re missing something, OwnYourGram informs you of what you’re missing so that was really useful. After getting my IndieAuth working I realised that I also needed to have a micropub endpoint.
I should have learned from my first mistake, but because I didn’t, I spent too much time reading the wiki about micro pub endpoints and at this point I was feeling a bit frustrated and feeling a bit dumb.
Impatience got the better of me so I decided to add to my < head > the following and just poke and see what happens:
< link rel="micropub" href="https://www.ohhelloana.blog/micropub">
And yes. It failed. I had no idea what I was doing but it was worth giving it a go.
At this point I decided to search “Jekyll micro pub endpoint” and I found this repository.
Ding ding ding - everything I wanted: works with Jekyll, does a mysterious thing for me, pushes to GitHub automatically!
I want to say that I went straight to the ReadMe but that would be lying. I did the classic:
npm i “assume name of thing there” —save
It didn’t work. So I went to the ReadMe. There was no npm. So I thought “I don’t know what I am doing and I should know what I am doing”.
The fantastic bit about IndieWebCamp was being surrounded by people who know what they are doing. So I asked for help. Turns out, what I had to do was to click on the purple Heroku button.
At this point I FINALLY understood what the repository did. I forked my own version and re-added it to Heroku.
As per ReadMe, I added the config variables in the Heroku panel and added to my < head > the following:
< link rel="micropub" href="https://ohhelloana-micropub.herokuapp.com/micropub/main">
I finally had a micro pub endpoint! So I signed in again to OwnYourGram, followed all the steps (now I already had all the requirements) and tested it. I chose one of my existing photos to be published. That worked! So I decided to take a photo, post on instagram and see (after a while) if it would publish automatically (it did).
Here’s when things got more complicated: Everything was (and is) working as I expected but when I opened it on my blog, I didn’t like the URL. I wanted to create a specific URL and following the suggestions in the ReadMe didn’t work. I spent quite a few hours on this but eventually it resulted in creating a gitHub issue in the original package (also my very first gitHub issue).
Another issue I found is that when trying to share an instagram post that has more than one photo, my Heroku app times-out and I need to restart it. This can probably be fixed by upgrading my account but I can’t afford it right now.
But, in all fairness, the micro pub repository that I used is likely not even ideal for this type of content (media content from instagram) so my “issues” may not be real issues as it wasn’t designed to work with it. But it was my very first attempt and it allowed me to understand how it works. Maybe in the future I may create my own micro pub endpoint or use something else more suitable for instagram content.
When that happens I could potentially be even more fancy and, like a friend suggested, automatically generate smaller resolutions of my instagram posts so that I can load them in my main post list instead of the original size ones and save on data downloaded and improve performance.
Unfortunately, I also have to manually add alt descriptions to my images.
It is far from perfect but it is something.
I am happy that I did something productive in those hours in IndieWebCamp and I am for sure very inspired to build more things for my blog. I am just upset that I may not have the technical skill or time to do everything.
This is what I accomplished:
If I post a photo on instagram, it publishes on my blog too and I will host a copy of said image in my blog.
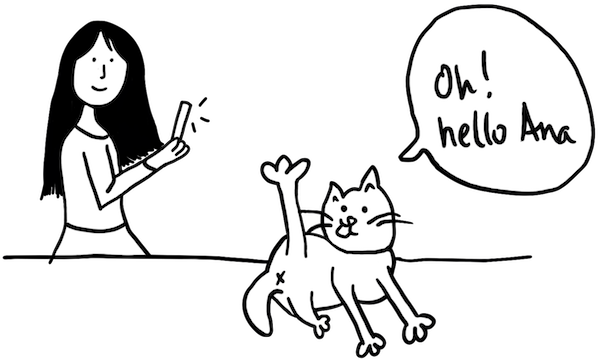
This was my first "official post". I deleted the test ones. The stickers in that photo allowed me to discover IndieWebCat ❤️.
Issues:
- No alt text;
- Currently isn’t handling more than one photo in a post;
- URLs are not customised;
- Images only available in full resolution;
I want to plug my Twitter into my blog and add webmentions too. Hopefully for this year’s #newwwyear
Thank you everyone at IndieWebCamp. I had a wonderful weekend!